

How to Make Espresso On the Stove with a Moka Pot
6th Sep 2016
A Moka pot is an electric or stove top espresso/coffee making device that yields a dark coffee. The pot is a steam based appliance where coffee is produced when boiling water which is pressurized by steam and is passed through ground coffee.
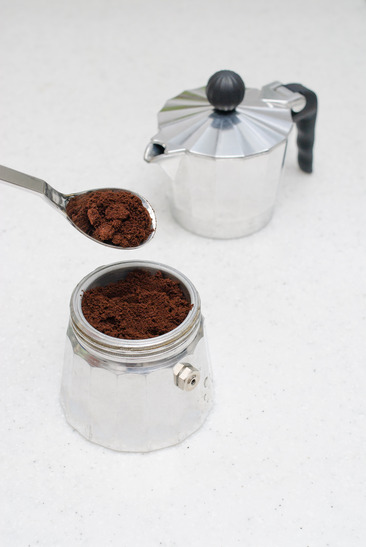
When using a Moka pot for the very first time, it is a good idea to be aware of its components and how the device works. For instance, the pot is divided into three chambers with the bottom chamber for the water. This chamber also contains a pressure valve. The chamber in the middle is for putting in the coffee grinds while the top chamber is for collecting the brewed espresso.
Also, before brewing coffee in the Moka pot for the first time, it is recommended that the pot be cleaned or conditioned by boiling up some old grounds as a test. Once this is done, you can then get ready to use your Moka pot for some fresh-brewed espresso.
How to Use a Moka Pot
Moka pot instructions are fairly straightforward and similar to making espresso on the stove. In fact, the guidelines can be used to get the best coffee experience with a stove top. Brew a perfect cup of Moka pot coffee by following the steps given below:
 Start off by adding water to the
bottom chamber and fill it to about half an inch below the safety valve. If
using a larger capacity Moka pot, it is recommended to preheat the water so
that the coffee does not cook on the stove.
Start off by adding water to the
bottom chamber and fill it to about half an inch below the safety valve. If
using a larger capacity Moka pot, it is recommended to preheat the water so
that the coffee does not cook on the stove.- Add coffee grounds to the filter, making sure that they are not packed too tightly and do not gather around the edges of the funnel and the bottom chamber. Overfilling or compressing the grinds will make it hard for the water to penetrate the grinds properly. At the same time, it is recommended that the grind for Moka pot is medium fine and not too coarse.
- Depending on personal preference, the thickness of the espresso can be adjusted by altering the amount of water and coffee used. To make a slightly strong and thicker espresso, simply reduce the amount of water used.
- Once the coffee is loaded into the filter, secure it in place by twisting the top and bottom chambers together until they seal properly. Failing to tighten the filter properly could lead to not only an unsuccessful brew but also a significant clean up job.
 Place Moka pot on heat source,
either stove top or hob, and turn on heat. If placing the pot on stove top, it
is important to make sure that the flame does not go beyond the edge of the
Moka pot. On a hob, a low heat setting will do the job. The point is to supply
just enough heat so that the coffee does not start to boil in the top part of
the Moka pot as well.
Place Moka pot on heat source,
either stove top or hob, and turn on heat. If placing the pot on stove top, it
is important to make sure that the flame does not go beyond the edge of the
Moka pot. On a hob, a low heat setting will do the job. The point is to supply
just enough heat so that the coffee does not start to boil in the top part of
the Moka pot as well.- Remove Moka pot from heat source once the brew cycle has finished. At this time the coffee will have entered the top chamber and be ready for pouring. It is worth noting that the smaller the pot, the faster the espresso cools down. So if you use a small one hit pot, do not leave the mixture in it too long or it will be cold when poured.
- Pour your Moka pot espresso and enjoy!
Allow your Moka pot to cool sufficiently before breaking it down for cleaning. Clean with some warm water and soft scouring sponge without using detergent. Adding dishwasher liquid to the pot may lead to a salt build up inside the chambers.
Where to Buy a Moka pot
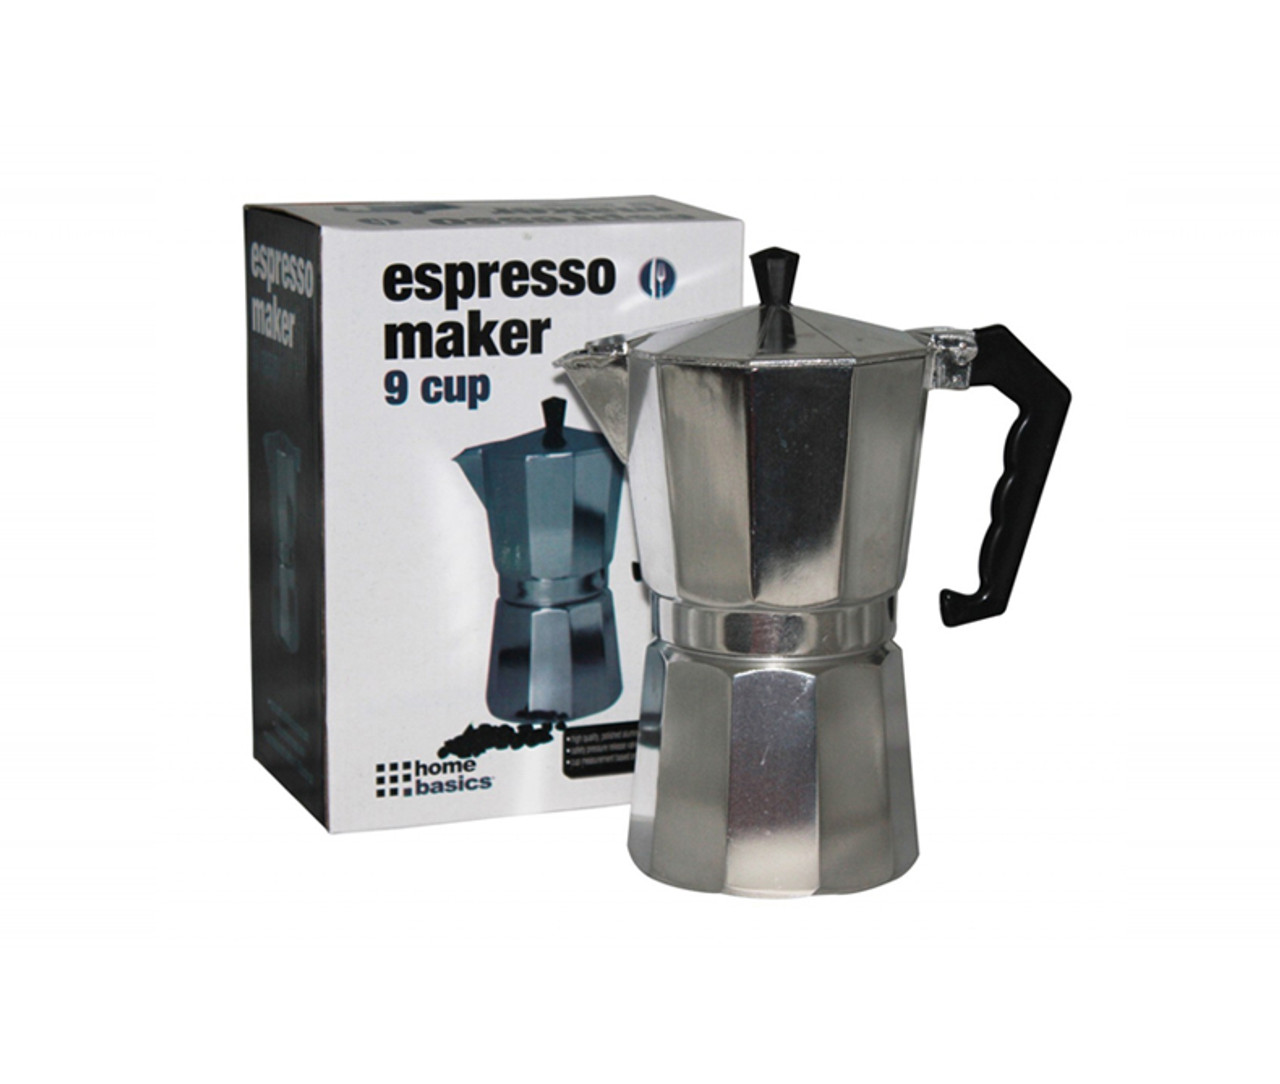
Moka pots are fairly easy to find in stores and can be ordered online as well. To find a range of different models, check out Linen Store’s Espresso Makers.
You can choose from an assortment of different sizes ranging from a small 2-Cup Stainless Steel Stove Top Espresso Maker to a large size 12-Cup Aluminum Espresso Maker.