

How To Iron A Shirt
10th Feb 2016
While clothing may not make the man, it can certainly make others sit up and take notice. In fact, crisp, clean and well fitted clothing definitely encourages people to take you more seriously. And one of the items in a man’s wardrobe that can instantly spell S.H.A.R.P is a properly ironed dress shirt.
The thought might be frightening for some, or may seem like a cinch to others, but when equipped with the right essentials, almost anyone can get the hang of ironing a dress shirt to perfection. Here is what you need to get started.
The Equipment
Let it be known that not all irons are created equal especially the ones priced at under $ 20. To get impeccable results on your ironing you will need to invest in a good quality iron first. This means looking for a product that is solid, smooth, has a well-built soleplate and comes with an effective steam delivery system.
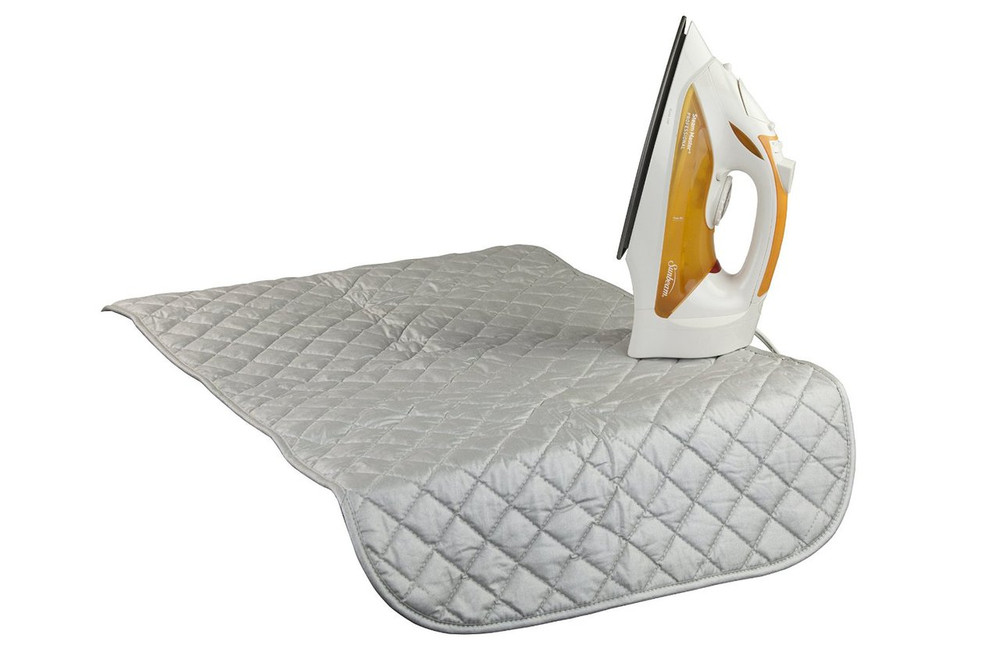
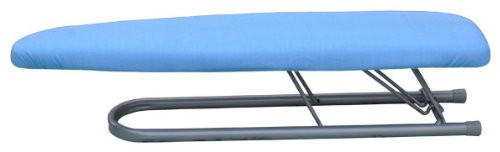
This feature will allow the iron to steam the fabric while ironing making it easier to smooth out even the toughest wrinkles and be used on a variety of fabrics. You will also need a surface sturdy and smooth enough to iron on. A solid ironing board does not need to be a heavy investment and can be acquired from almost anywhere. Set up the ironing board in a spot where ample space will allow you to spread the shirt out conveniently without wrinkling it. If space is an issue, Linen Store offers a Magnetic Ironing Mat to fit the top of your washer or dryer.
The Procedure
- Before any ironing can be done, make sure to read the label. While most shirts may be constructed from cotton or cotton blends able to withstand higher temperatures, certain polyester shirt fabrics will be more sensitive to heat.
- The shirt should ideally be slightly moistened before ironing to facilitate pressing it properly. This can either be done by lightly spraying it with some mist prior to ironing, or a shirt pulled directly from the washing machine will be perfectly moistened.
- Unbutton the shirt completely including the cuffs and spread it out evenly on the ironing board.
- It is recommended to always start by ironing the shirt collar first. To do this, pop it up and start from the underside. Move the iron from one side to the other making sure that no wrinkles appear while doing this. When done, flip over the shirt and repeat on the outside of the collar.
- From the collar, move on to the cuffs. Unbutton and lay the cuffs flat on the ironing board. Start with the inside of the cuffs first and then move on to the outside. When ironing shirt cuffs, it is very important not to iron over the buttons but around since this can leave marks.
- After tackling the collar and cuffs, the next step deals with ironing the shirt front. Start on the side with the buttons and carefully work the pointed end of the iron around the buttons, never over them. From there move back to the top of the shoulder and work your way down the front of the shirt. Repeat on other side. When going over shirt pockets, always work your way up from the bottom end of the pocket to the top for pressing and flattening it properly.
- Next, it is time to iron the back of the shirt. Lay the shirt flat on the board by positioning one of the sleeve heads into the narrow edge of the ironing board. This position allows one half of the shirt’s back to be placed flat on the board for perfect ironing with minimal risk of wrinkling. Start ironing from the top of the back shoulder going down. Repeat on the other side
- The final step is to iron the sleeves by taking one sleeve by the seam and laying it flat on the board and clearing out any creases. Start from the shoulder end of the sleeve and work your way down to the cuff. Flip sleeve over and repeat. Do the same for the second sleeve.
- Inspect your shirt and hang.
While ironing the shirt gets it to look sharp, hanging it properly ensures to keep it looking great until worn. Get a great selection of hangers from Linen Store to keep all your ironed shirts in impeccable condition until used. Or shop from their portable storage closets to keep clutter out of sight at home.